

Backup and Move to Cloud 50
Once your new Cloud 50 Hosted Sage server is ready you will need to move your local Sage 50 Accounts data to the cloud. Below are a few simple steps to follow to move a single Sage 50 company from a local server or single PC to the Cloud Hosted Server.
Step 1 – Backup
The first step in moving your company data is to do a FULL backup.
Open Sage and sign in as the Sage Manager account.
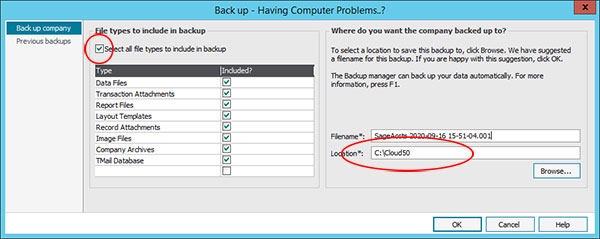
From the File menu choose Backup, the window above will open.
Be sure to select to do a full backup by selecting the tick box within the ‘File types to include in backup’. This will ensure that when the Sage company data is moved to the Cloud Hosting the move will include all of your Report Layouts and other associated files and templates.
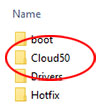 Select the location – at Cloud 50 we recommend that you create a new folder at the root of the C: drive, call it Cloud50, and direct the backup to that location. (we will refer to this folder in our documentation, so it makes sense.)
Click OK to complete the Full Backup.
Step 2 – Creating a ‘New’ Company and the Restore
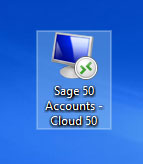 To restore your Full Backup to a ‘New’ Cloud Hosted Sage 50 Accounts company you must first be able to access the hosting service. Typically we will provide a Launcher file, shown here or you may be using the embedded Start Menu icons. Which ever you are using, click the Sage 50 Accounts icon to open Sage from the Cloud Hosted Server.
After you have completed the initial login process you will arrive at the Sage 50 Accounts ‘Select Company’ window show below. Click the ‘Add Company’ option.
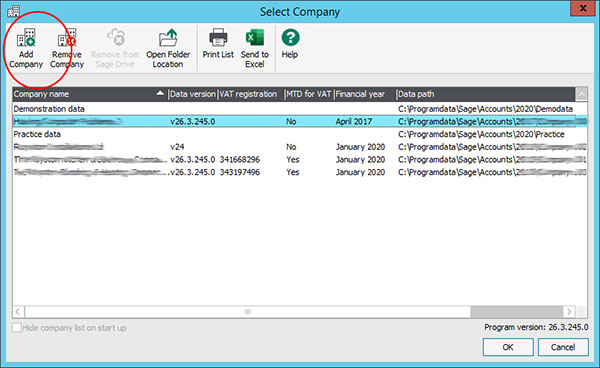
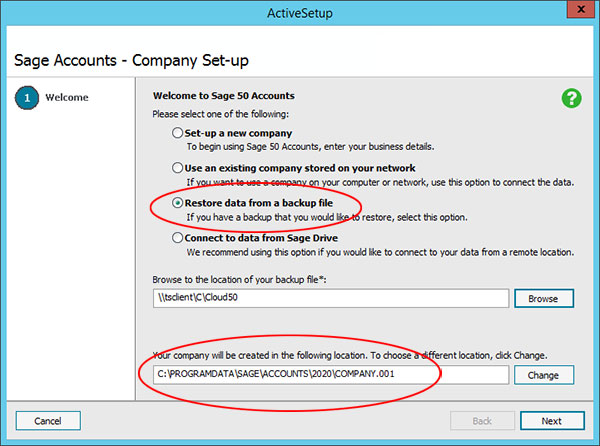
The ‘Add Company’ option will open the following window.
Choose to ‘Restore data from a backup file’, this will be the latest Full Backup that was created in Step 1 above.
The next step is the most complex, be sure to follow these instructions carefully.
Click the ‘Browse’ button to the right of the ‘Browse to the location of your backup file*:’ entry, the following window will appear.
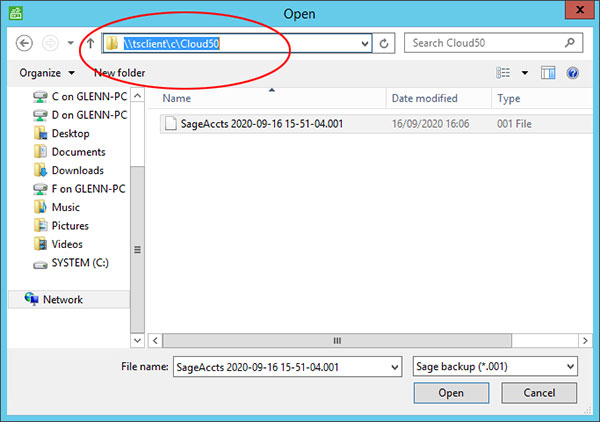
In the address bar at the top of the window, circled here in red type the following
\\tsclient\C\Cloud50
This will cause the Cloud 50 Hosted Sage server to browse to your local computer and look in the folder C:\Cloud50(*) for your latest Full Backup file, click the latest Full Backup file to select it and then click ‘Open’ to return to the previous window.
Note (*) if you called your local folder something other than Cloud50 simply replace Cloud50 with correct file name.
The ActiveSetup window is now complete, you are choosing to ‘Restore..’ from the chosen Full Backup file, Sage 50 Accounts will choose an appropriate folder name for the ‘New’ company in the correct location on the Cloud 50 Hosted Sage 50 Accounts server. This is always in the C:\ProgramFiles\Sage\Accounts folder – the C: drive referred to here is the hard disk drive of the Cloud Hosted Server.
Click ‘Next’ to complete the process of moving you local Sage 50 Accounts to the Cloud 50 Hosted Sage server.
The restore process will take some time, typically your broadband service will have a slower upload speed and you are moving quite a lot of data, you need to wait until the restore is complete.
Once the ‘New’ company has been created and the data restore your Cloud 50 Hosted Sage is ready to use.